first stage was to get a card design and build for me to work with i got this from Dung0bettles who has some amazing skills with pep files go check him out at... http://dbpeps.cz.cc/page2.html need to give him credit for the files he makes..... ok here goes
I started by building the pep file and making sure it was all in line and square after i made it ...i havnt got the card making skills down yet but getting there ...:)
here is the pep stage was good that the file came with the ears separate made it easy to work with..

once i had made the pep of the helmet i then whent on to add a thin layer
of fiberglass and resin o get strength in the helmet.

I tried to keep the layer of glass and resin as smooth as possible
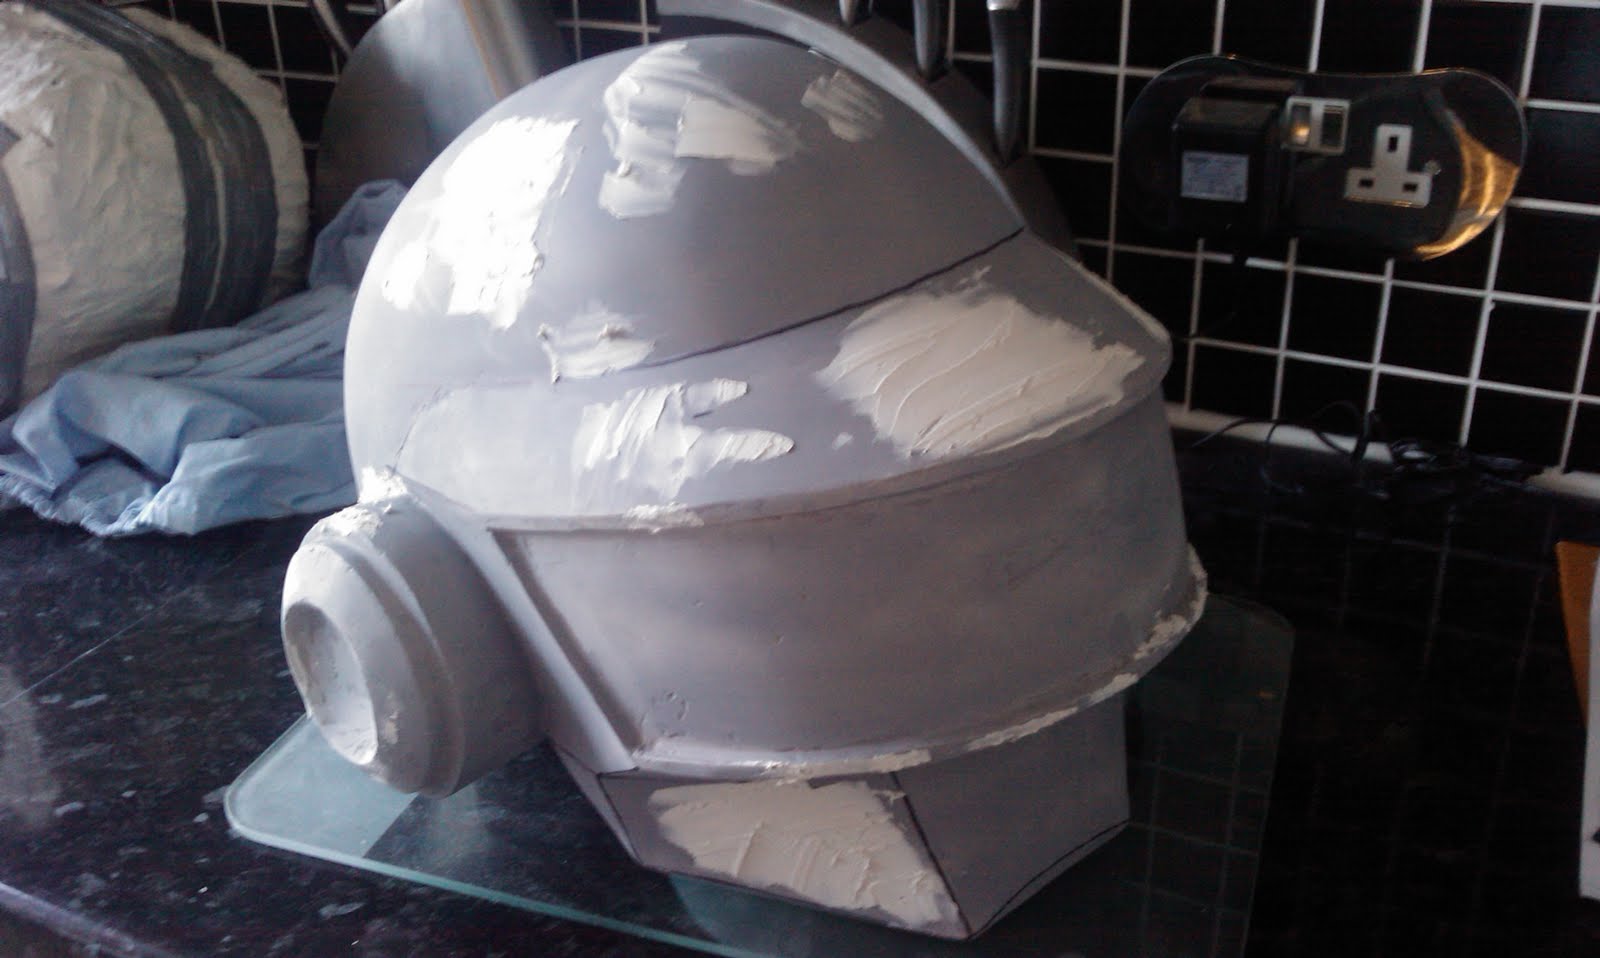
which makes it easier for filler and sanding. i then started applying
the filler bellow.....

I started sanding down the filler and keeping the lines clean i found it easier for
every layer i applied to sharpie marker pen the lines on just so i didn't loose them
in the sanding process

More sanding and filler......getting the jaw line right smooth and level

another layer and you can see the lines are starting to sharpen out ok.....
will keep it up to date working on it most days so will keep updating
well as my arm feels like its going to fall of through sanding, sanding
sanding and more sanding........ i finally get onto another layer of filler...

for a bit more sanding lol filling in the low spots and sanding out
any high spots

here we go the last bit really only a few bits to sort out then a thin run
of finishing filler wet a dry, paint and wax ready for casting

the line are looking good just making sure the ears run smoothly a
presto ready to go.......
Ok here is the next couple of pics after working on sanding filling sanding filling and nearly sanding the end of my fingers off...lol its looking good the lines are nice and is ready for the detailing around the visor ears and seam over the top which will be tomorrow.......


ok more sanding filling sanding shaping


ok here we go after copious amounts of sanding and shaping even to the point my fingers hurt im down to the detailing sanding which is much easier as i can use a dremal here i am getting the right lines and and angles right

from here is the visor line this gives it the nise crisp square line ans it comes together

another update just finished of the fist real pas of paint for the top coat of filler to fin the imperfections needed to be sanded better than i thought really considering it was a patchwork of colour 2 hours ago lol


more sanding and the same verse as the last ...... here it is near the end just a few small tuch ups and filling needed and good to go ....


No comments:
Post a Comment