here is the first steps of the sculpt in making the head and starting the face, and working on the nose

from there i then built on the nose making it bigger and flowing under the eyes
to make them look more sunken, then drawing in the eye brows for that menacing
look, then starting on the mouth area.

Here you can see the mouth and cheek lines are going on, along with razing under
the eyes and along the brow ready to take the horns

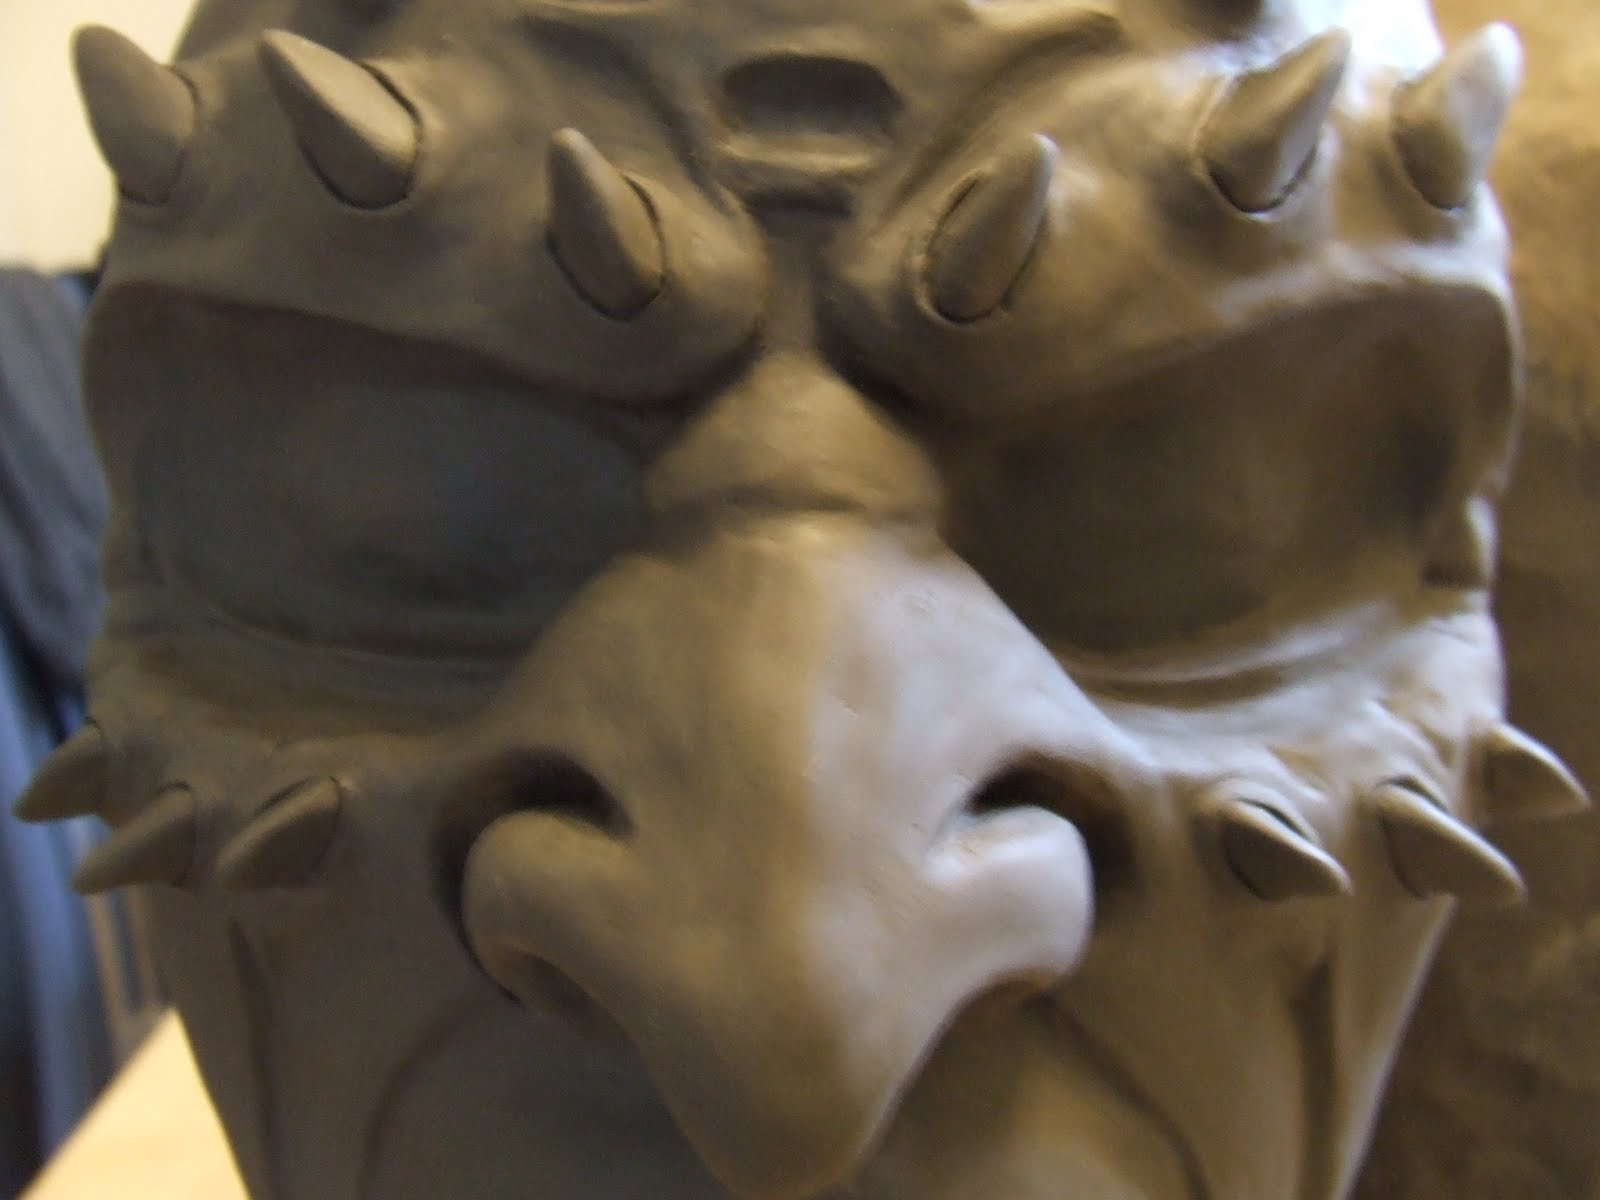
ok after a good few more hours i have got the head bone in place all the raised
areas around the head, eyes, cheeks for the horns to go on,
and made a start on the ears.

i will be working on this through the week hopefully ready to mould from at the weekend and cast masks from the week after but will upload more pics as the sculpt comes on.....thank
oh here i am still fighting this sculpt it is nearly done now i have added the horns and going through the detail nearly ready for casting

Ok well after another few days of adding clay cutting back shaping and smoothing out then not being happy with it add more clay cutting back smoothing out......then frustrated with smoothing out all the detail hes done ! yay ready for casting wohoooooo here are the pics


well here goes hopefully this will come out right and no air bubbles or missed bits lol here is the front part of the casting process
here is the clay wall starting to go on around the sculpt half way from front to back to make a 2 part mould


Well here is the side view of the wall and bellow is where its finished with lip ready to go....finger crossed lol

OK here we go first layer of plaster on covered nicely i noticed the nose had air bubble and promptly popped lol few!!

Here is the second layer making sure i pushed it into the gaps dont have much time with this plaster as it starts to set after about 5 mins so kind of pasting it on with my hands now....

here is the 3rd layer now less panicy no lol as this layer is just for strength

the fourth layer again for more strenght

And a final thin top layer this is just to smooth it out for ease of handling

ok now time to do it all again on the back of the mask lol.......here goes...


well there we go once i left it over night to fully cure i cracked the mould and and picked out all the clay from the detail.......check the casting it looks good apart from a few little air bubbles which can be filled in easly....


Here is the mould ready for the first pull for the latex mask this will pretty much be a cleaner run to pull out greas remaining clay in detail etc

well here it is the final latex cast of the mask ready to paint

so not sure if this will come out fine lol

well here we go the first attempt at airbrushing im not fully happy so will run of a few masks to practice on

here we go a red devilish version lol


